Red Nose Leather makes custom leather axe masks to help protect and beautify your axe. They specialize in leather but also enjoy restorations of vintage tools, especially axes. We checked in with Colton, Hults Bruk ambassador and owner of Red Nose Leather to break down the basics on how to get started making your own custom leather axe mask. Follow him on Facebook or Instagram, and respond in the comments if you have questions or would like more details.
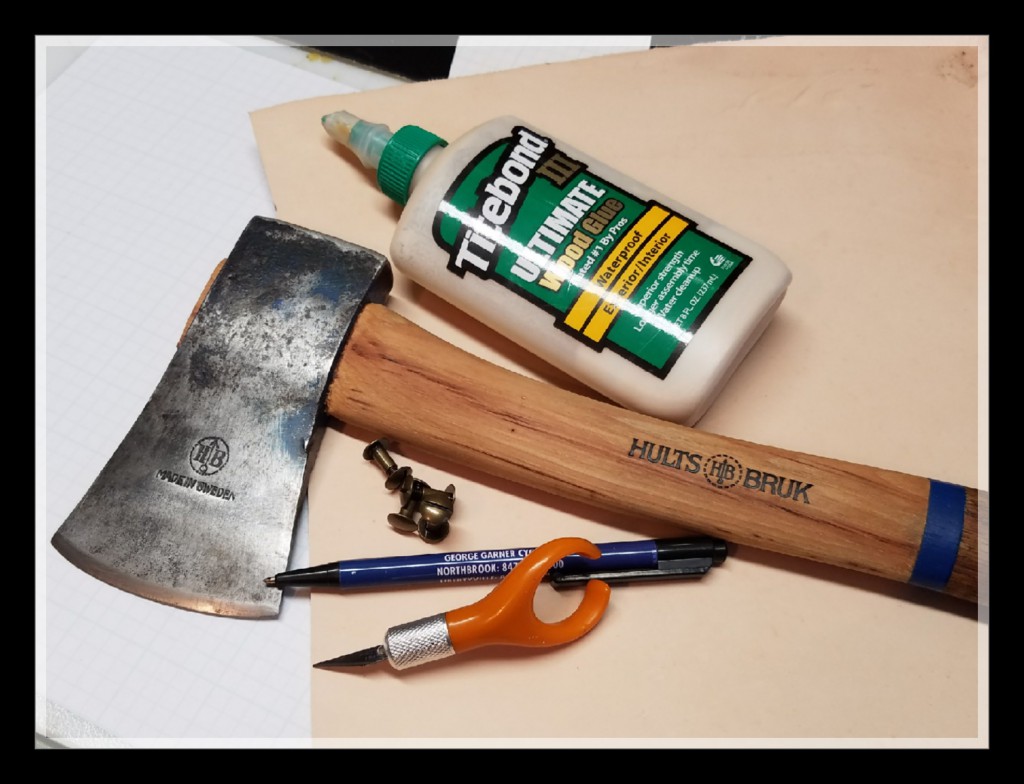
Supplies:
- 8-9oz Leather
- Wood Glue
- Chicago Screws
- Sharp Knife
- Cordage (leather lace, paracord, etc.)
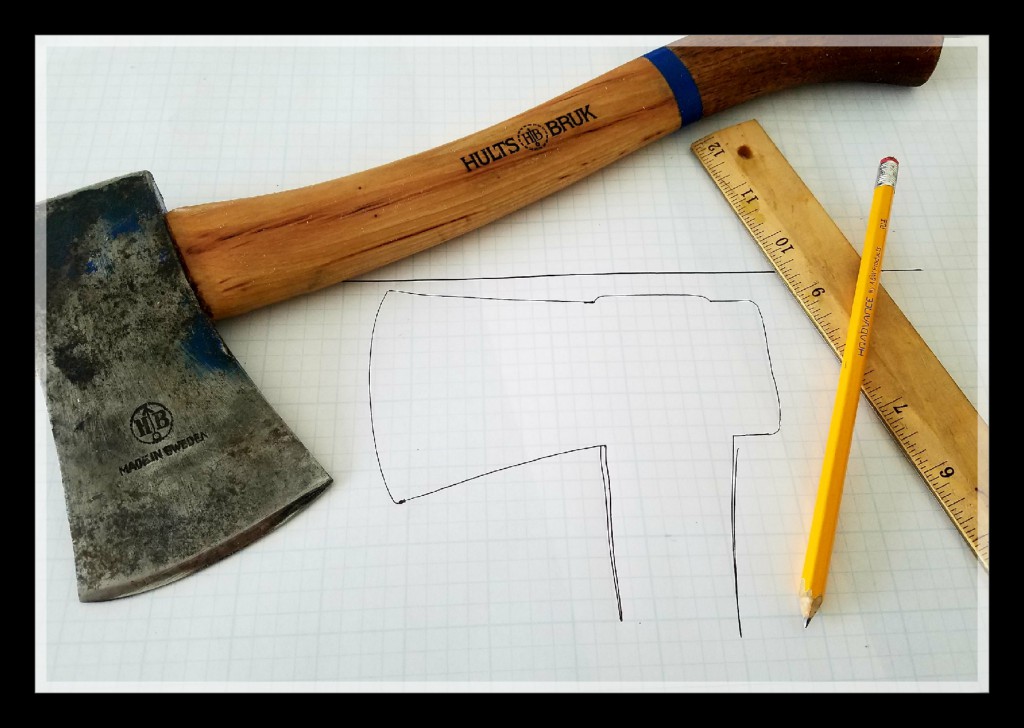
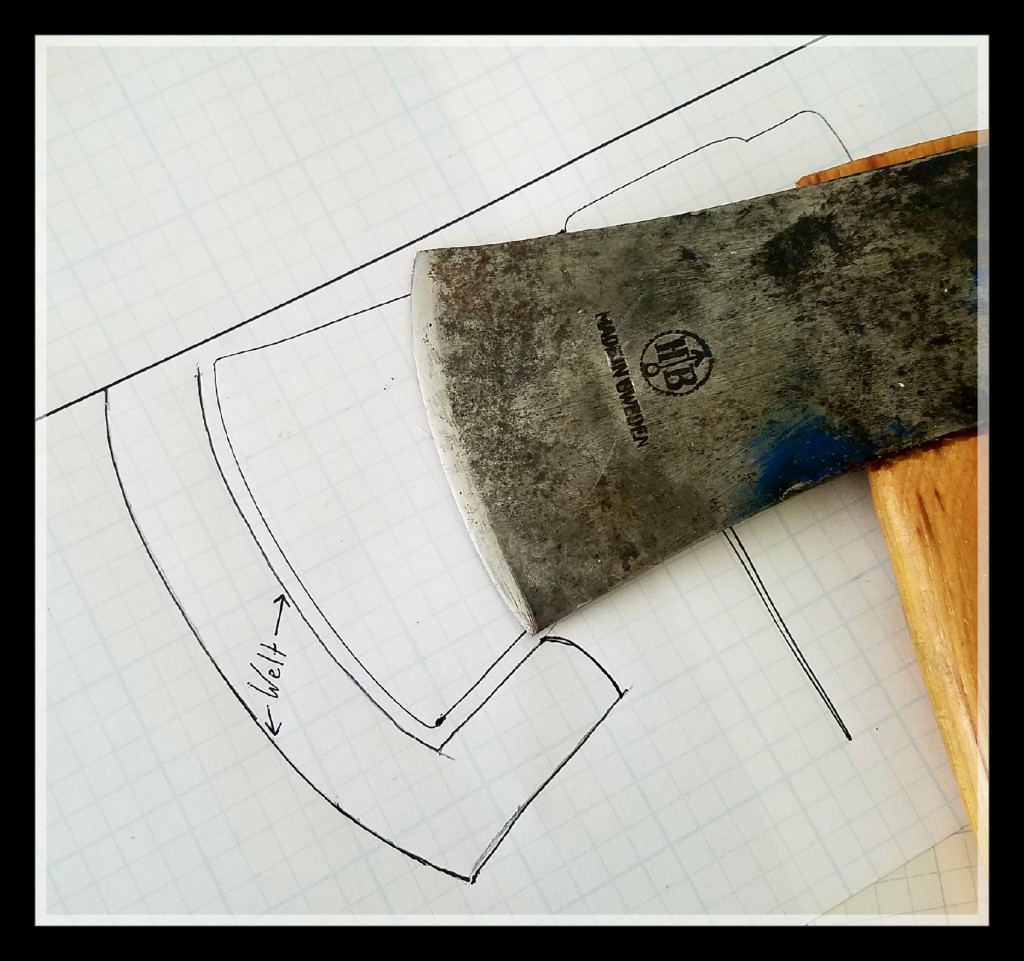
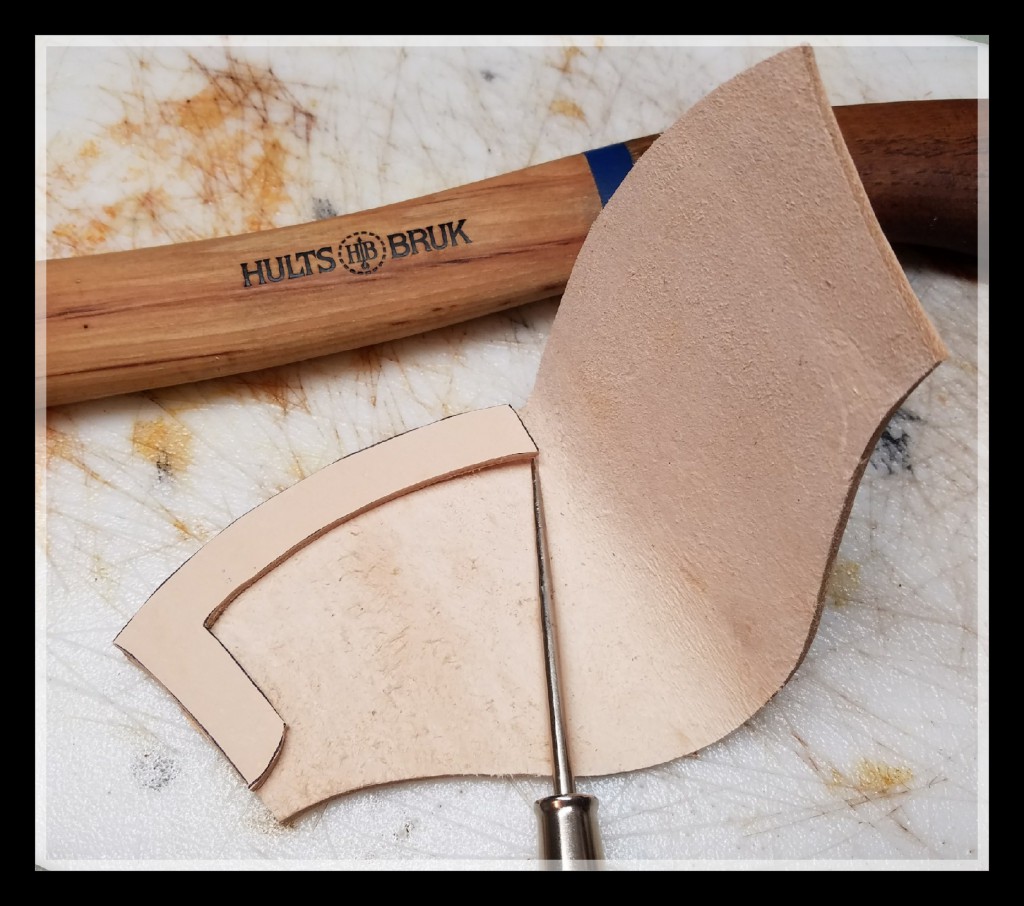
All successful projects start with making a template. Draw a straight line across your paper and lay the axe head an 1/8″ – 1/4″ below it. Trace all the way around the head and a little down the handle.
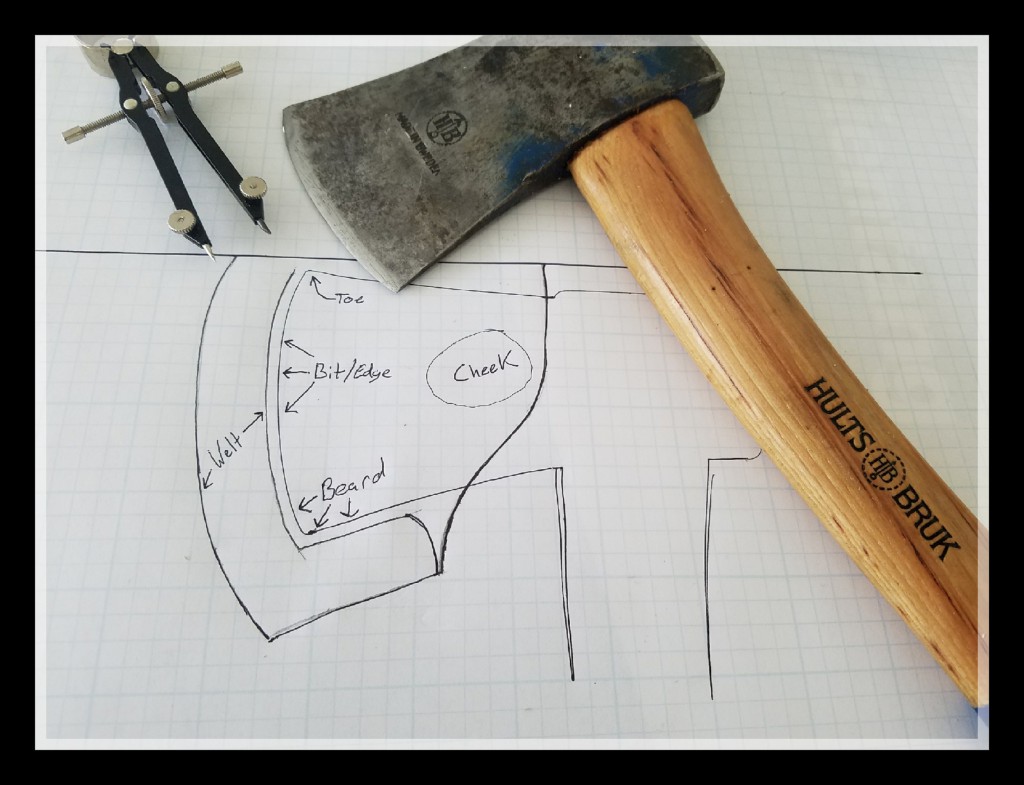
Measure an 1/8 of an inch away from the edge and create a line that starts from the toe, goes down to and around the beard. Continue up the beard for about an inch.
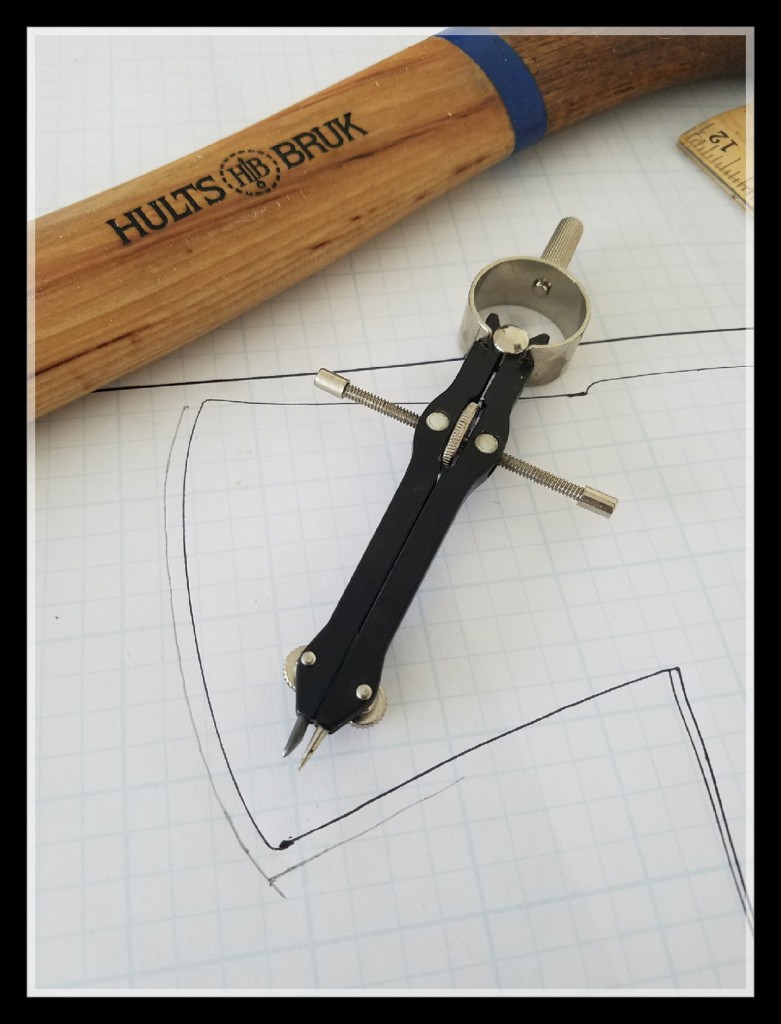
From that line you just created, make another line that follows parallel to it but at 3/4″ wide.
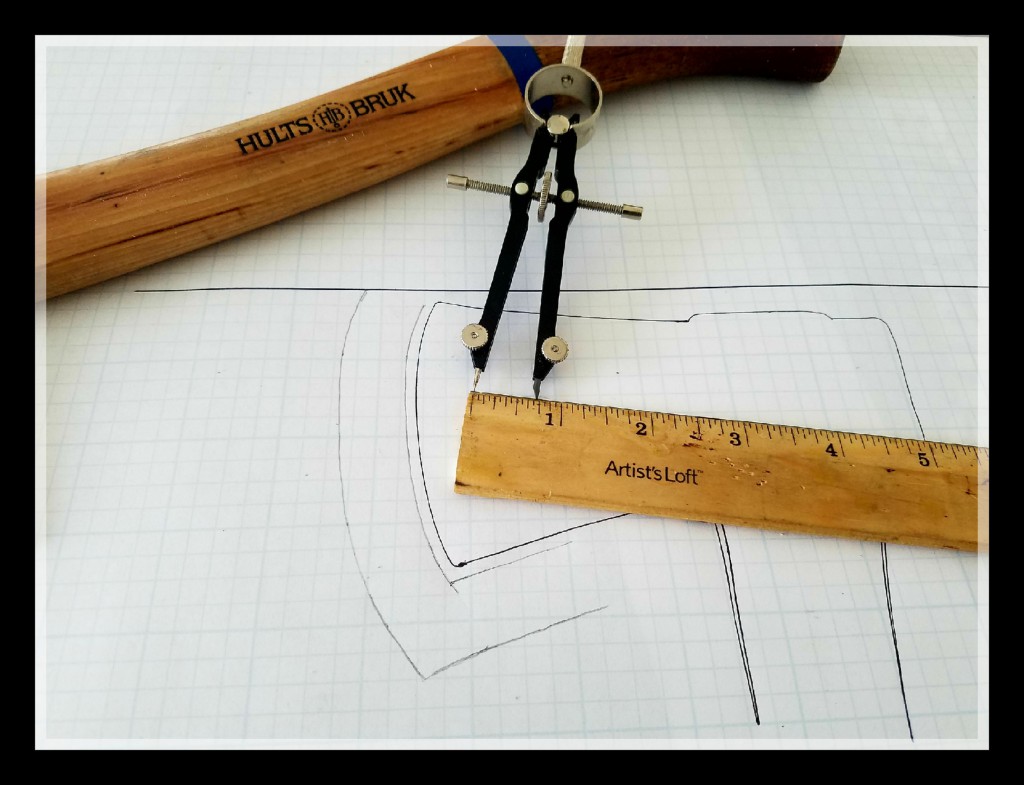
The front part of the mask as well as the protective welt is almost finished. To finish the welt, connect the two lines at the bottom closest to the handle. To check and see if the mask will fit properly; place the beard just above the end of your welt, rock the forward and in as if you were test fitting the mask. If the toe of the axe never makes contact with your top template line, you are good!
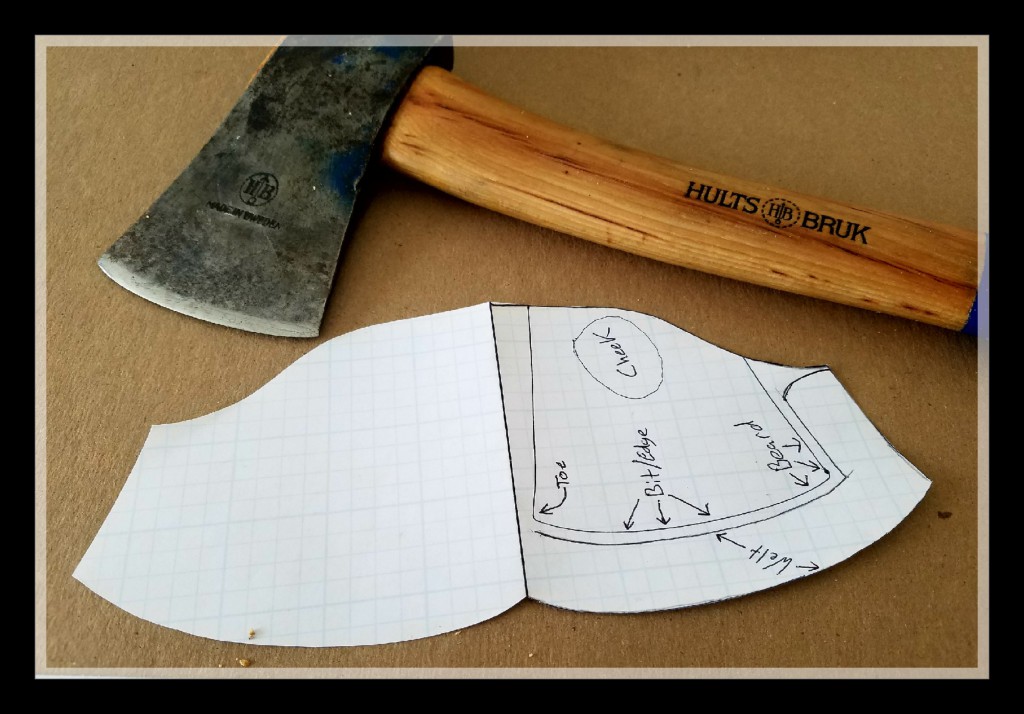
Next, focus on the part of the mask that will cover the cheeks of the axe. There is some artistic freedom here but my advice is to keep it simple.
Fold your template in half and cut it out.
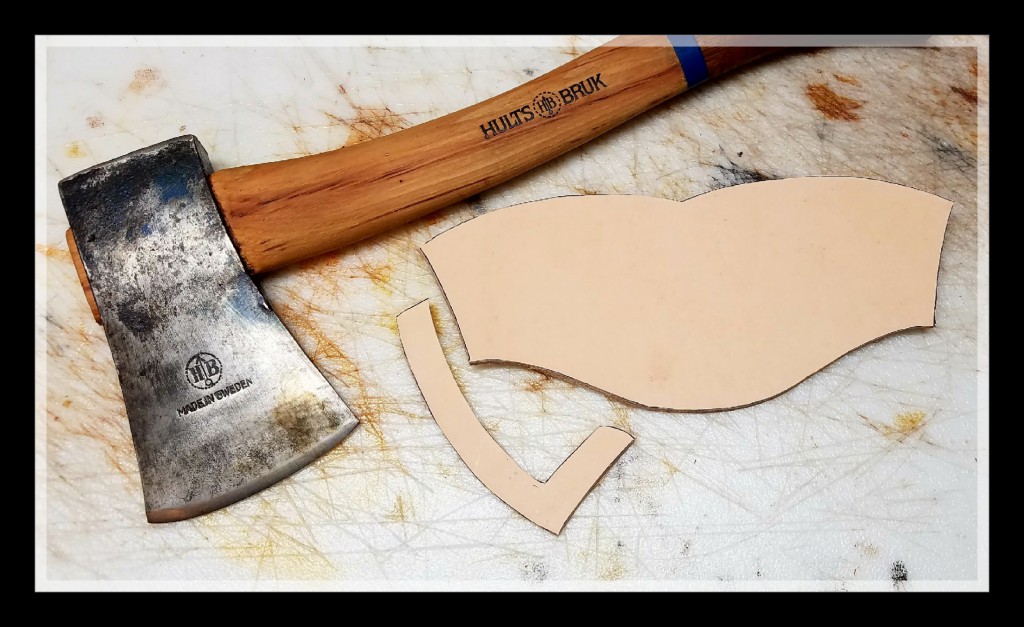
Trace out your template on the leather and carefully cut it out, it may take a few passes to cut through the leather. Take your time and let the knife do the work!
Cut the welt out of your template, trace and cut that out of the leather.
Trim the top of welt little by little to allow room for the leather to fold over. This will take a few attempts to get it right, cut a little off at a time!
When the mask can fold over without the welt interfering, glue the welt in on one side.
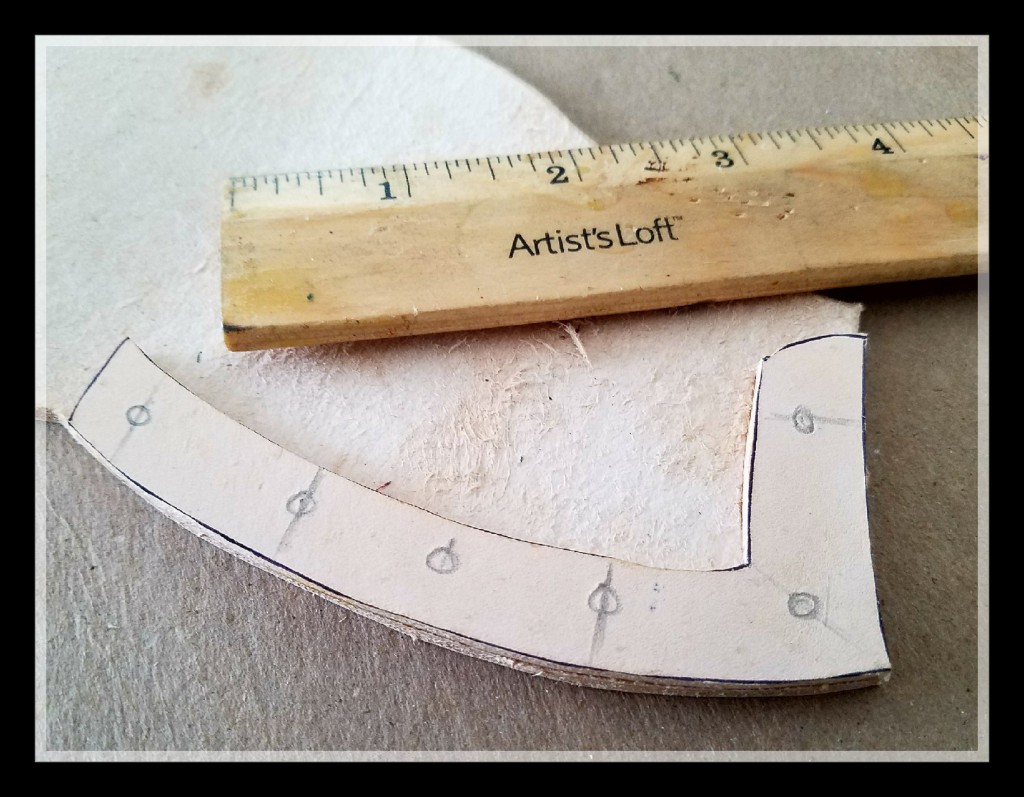
Measure where the holes will be for the Chicago Screws. Keep in mind that for this design, the retention system will be cordage of your choice so an extra hole will be needed. I spaced out my screws about an inch apart and put the hole for cordage in-between two of them.
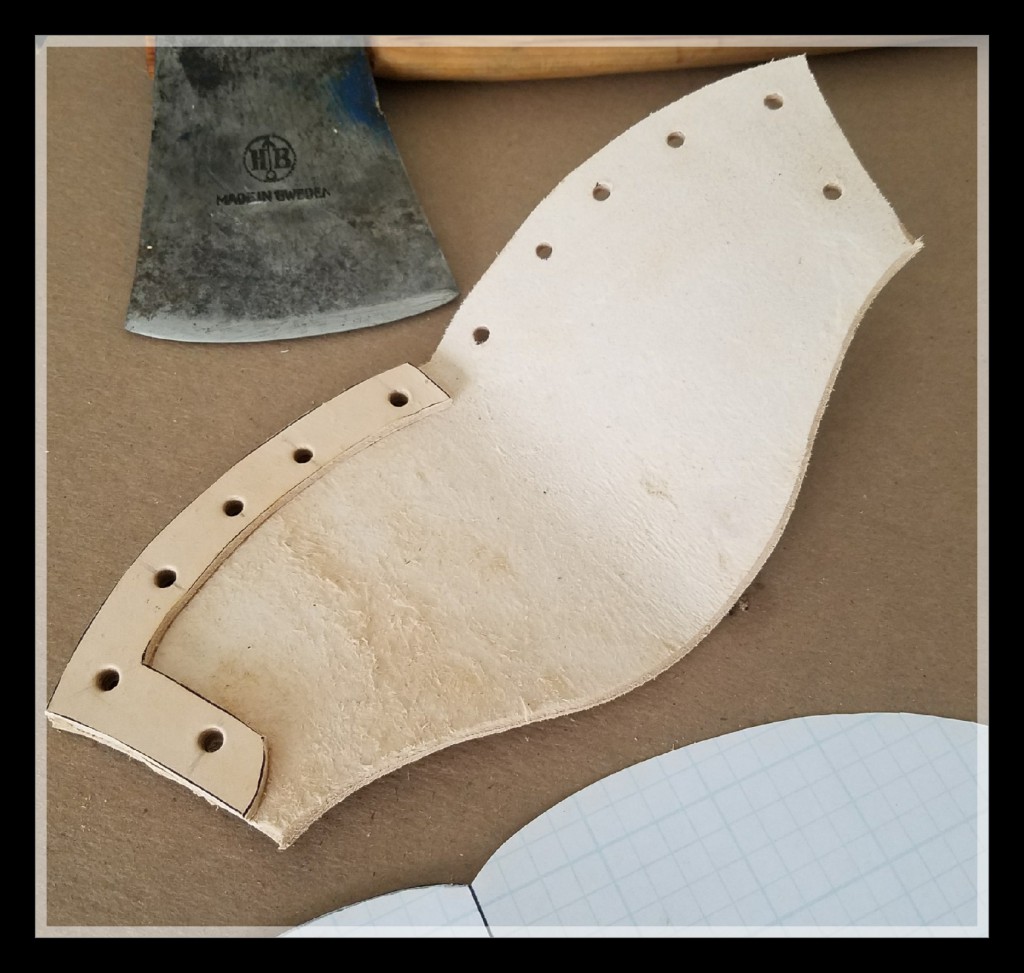
Many different methods can be used to create holes in leather. The ideal way is to have a leather punch but if you do not have that, get an appropriate sized drill bit and go slow.
Fold over the sheath and mark through each existing hole to ensure they are the same on each side.
With all of the holes punched you can glue the mask together. Use a thin layer of glue on the welt, fold the other half over and use the screws to clamp it all down. Wait the recommended time on the instructions of the glue you used.
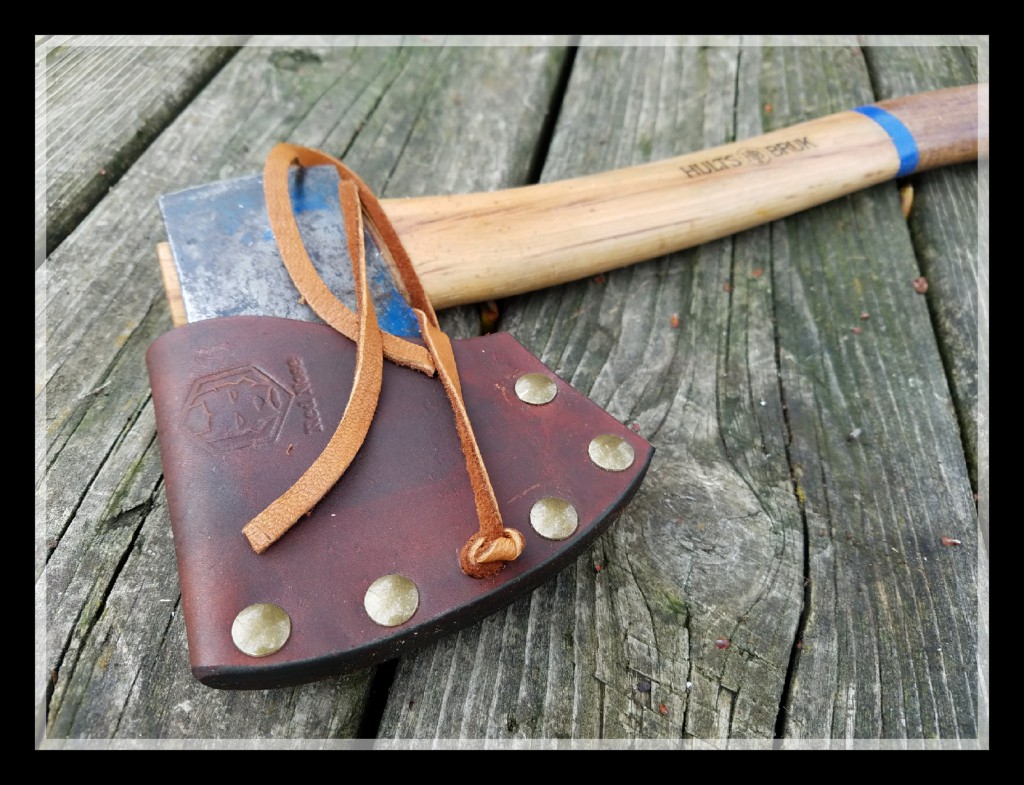
Stick your choice of cordage through the designated hole, tie a knot on each end so it doesn’t slip out. You are basically done! Put the mask over your axe and tie a simple knot around the back of the head.
